1. From the Setup tab,
choose the Cards tab then click Badging. The badge template list
displays. If there are preexisting badge templates, the page displays them.
2. Click New Badge Template.
The badging interface displays with an editable area for creating a badge
template.
3. In the Badge Properties box, enter a name for the template in the Name field.
4. Select either Portrait or Landscape for the orientation of the
template from the dropdown list in the Badge Properties box. The orientation of
the card determines the scale of both image and text objects.

Figure 109. Template Orientation and Name Options
To choose a background color for the
badge template, click the box next to the color field in the Badge Properties
box under the Background section. A pop
up window will display color options. Select a color and click Ok to
save, or Cancel to exit the pop up. If you wish to clear the background,
click the Reset button next to the color box.
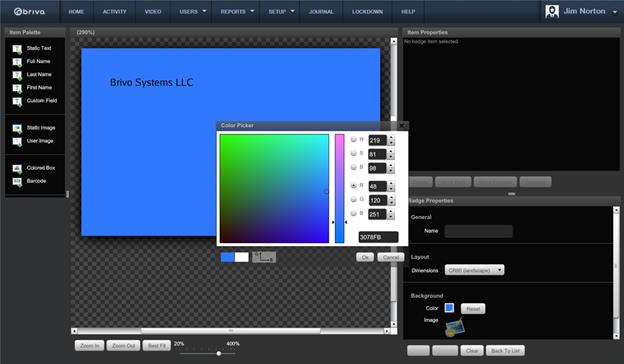
Figure 110. Select a Background Color
To add an image as your background, click Browse to import an image. Click Open to apply the image or Cancel
to delete it.
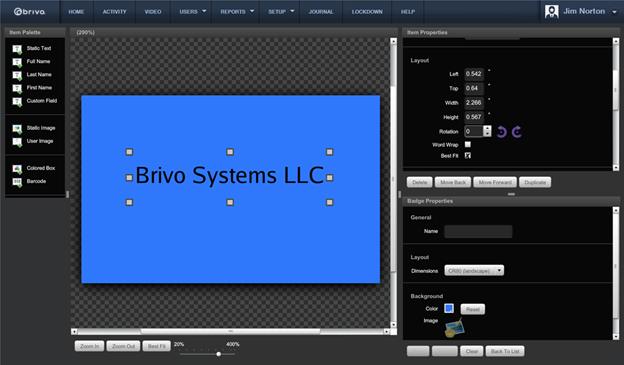
Choose from the list of items on the palette on the left and drag
them to the blank badge in the middle to create your badge template.
Depending on which items you dragged from the palette onto the
badge template, text will appear in the box next to the badge template. Though
the field may read “First Name,” the user’s first name will appear
automatically when using that template to print a badge for the user. To adjust
the settings of any palette object, refer to the Item Properties box.
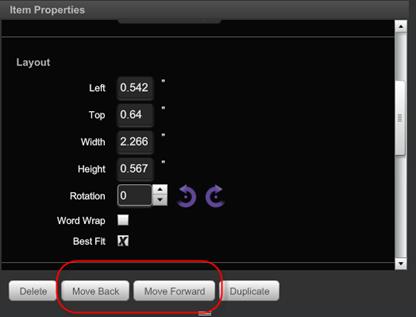
If you wish to layer objects, use the layering icons at the bottom
of the Item Properties box to move the item to the front or back of the badge
template.
5. Once you have finished specifying the options for your template,
click the Save icon to save your
badge. If you wish to return to the last saved version of the badge, click the Revert icon. If you wish to clear the
entire badge and start over, click the Clear
icon. If you wish to return to the list of badges, click the Back to List icon.
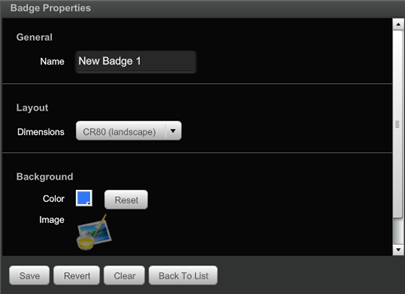
Figure 113. Badging Interface Icons